
How to Upscale an Image Without Losing Quality: Honest 2026 Guide
You have a photo that is too small for the job: a print that needs more pixels, a banner for a 4K screen, or a crop that lost half its resolution. Here is how to upscale an image without losing quality: what AI upscaling really does, when 2x beats 4x, the print-size math, and a free workflow that works.
How to Upscale an Image Without Losing Quality: The Honest Short Version
If you are in a hurry, here is the whole method in four steps:
- Start from the best original you have. Upscaling a clean 2-megapixel photo beats upscaling a recompressed thumbnail every time. Never upscale an image that has already been upscaled.
- Pick 2x first. Doubling the width and height quadruples the pixels, and it is the safest jump for most images.
- Use an AI upscaler, not a basic stretch. A browser tool like the Clipdrop Image Upscaler or Photoshop’s Super Resolution predicts plausible detail instead of just stretching pixels.
- Inspect at 100% zoom before you trust it. Zoom to full size and look at edges, text, and faces. If the result looks wrong, it is wrong, no matter what the marketing said.
One honest sentence before we continue: no tool can recover detail your camera never captured. Everything below is the closest thing to that promise that physics allows.
What AI Super-Resolution Actually Does to Your Pixels
People call two completely different things “upscaling,” and it helps to know which is which if you want to understand how to enhance resolution of image files with AI. Traditional resampling is pure math: it fills new pixels by blending their neighbors, adding zero new information. AI super-resolution is a neural network trained on millions of photographs, guessing what the missing detail probably looked like.
That guessing is surprisingly good. Adobe’s Super Resolution uses a model trained on millions of images, per Adobe’s own documentation, so a soft edge that resembles an eyelash gets drawn as an eyelash-like edge. For prints and screens, the result is often indistinguishable from a genuinely higher-resolution capture.
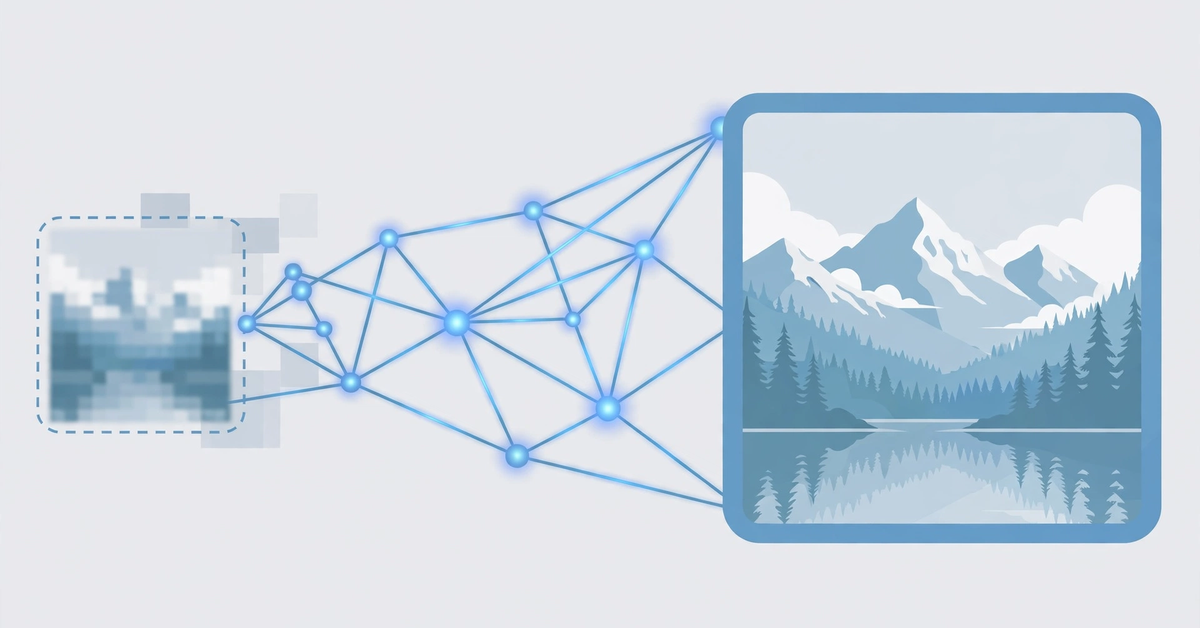
But “looks like” is doing heavy lifting. The detail was predicted, not recovered. On most photos that does not matter. It matters when the detail must be true: text can come out garbled, faces can gain features the person never had, and fine patterns like fabric can turn into plausible fiction. Treat AI-added detail as an estimate, never as evidence.
The source file matters more than the tool. Heavy JPEG compression bakes blocky artifacts into the pixels, and an upscaler enlarges those blocks too, sometimes exaggerating them. If your goal is to fix the resolution of an image so it is big enough for a screen or print, AI upscaling is the right tool. A blocky, over-compressed mess is a different repair job.
2x or 4x? Choosing Your Upscale Factor
Upscale factors multiply per side, so the pixel math escalates fast. A 2x upscale doubles the width and height, which quadruples the total pixels: a 1000 x 1000 image becomes 2000 x 2000. A 4x upscale quadruples each side, which multiplies the pixels sixteen times: that same image becomes 4000 x 4000, and its uncompressed file size grows by the same factor. Remember this before you upsize aggressively: every extra pixel costs storage and processing time.
For most jobs, 2x is the sweet spot: enough for a crisp 8 x 10 print or a high-density screen, and the safest way to learn how to make an image higher resolution without visible artifacts. Reach for 4x only when the end use demands it: a large wall print, a tight crop, or a banner viewed from several feet away.
At 4x, the tradeoff is not just file size. The harder the AI guesses, the more it invents: exaggerated compression blocks, halos around edges, waxy skin texture, garbled text. Run 2x, inspect at 100% zoom, and only go further if the image needs it and still looks clean. Never upscale an already upscaled file; each pass compounds the guessing.
Print-Size Math: The Resolution You Actually Need
One formula settles every “is my image big enough?” question:
Inches = pixels / DPI
For close-viewed prints, 300 DPI is the standard target. Posters viewed from a few feet away look fine at 150 DPI, which halves the pixel requirement. Work out what you need before upscaling, so you know whether 2x will do:
| Print size | Pixels needed at 300 DPI | Pixels needed at 150 DPI |
|---|---|---|
| 4 x 6 in | 1200 x 1800 | 600 x 900 |
| 8 x 10 in | 2400 x 3000 | 1200 x 1500 |
| A4 (8.27 x 11.69 in) | 2481 x 3507 | 1241 x 1754 |
| 11 x 14 in | 3300 x 4200 | 1650 x 2100 |
| 16 x 20 in | 4800 x 6000 | 2400 x 3000 |
| 24 x 36 in | 7200 x 10800 | 3600 x 5400 |
The formula works in reverse: a 1920 x 1080 image prints at 6.4 x 3.6 inches at 300 DPI, or 12.8 x 7.2 at 150 DPI. Many “too small” images are fine once the math is done. If you upscale photography for screens only, forget DPI and match pixel dimensions: a 4K wallpaper needs 3840 x 2160 pixels, whatever the DPI field says.
The Workflow: Upscale a Photo in Minutes
Knowing how to upscale an image without losing quality comes down to three decisions: the right tool, the right scale factor, and the right final check. Pick the route that fits your setup.
Option 1: A free browser upscaler
To increase picture resolution online free, the Clipdrop Image Upscaler is a solid start. It runs entirely in the browser: drop in your image and its AI increases the resolution while cleaning up noise and compression artifacts, with the result downloadable as a JPEG. It is the fastest route when you need to upscale a photo once or twice with no install. Free tiers change their magnification limits from time to time, so check the current limits on the site before planning a big batch, as of October 2026.
Option 2: How to AI upscale in Photoshop
If you already have Photoshop, Super Resolution is the built-in AI image improver worth knowing. Open your file in Adobe Camera Raw directly, since Enhance is not available through Filter > Camera Raw Filter. Right-click, choose Enhance, check Super Resolution, and press Enhance: Photoshop creates a new DNG with twice the width and height, four times the pixels. It works on JPEG, TIFF, and RAW (Adobe recommends RAW), and you can run Enhance across several filmstrip images at once, which covers light bulk image upscaler duty. See Adobe’s Super Resolution page for the official details. As of October 2026, this route needs a Photoshop subscription, so weigh it against the free browser option.
Finish the job properly
Whichever route you take, sharpen after the upscale, at the final size, and keep it light; sharpening beforehand magnifies halos. Save photos as high-quality JPEG or PNG, and keep the upscaled master before compressing copies for the web. Upscaled files balloon fast, so run web copies through our free Image Compressor and Resizer tool. For the rest of the edit, our AI photo editor guide covers enhancement tools that pair well with a freshly upscaled image.
Upscaling Questions, Answered Plainly
Can upscaling add detail that was never captured?
No. The honest version of how to upscale an image without losing quality starts here: every method estimates the new pixels. Traditional resampling blends neighboring pixels; AI super-resolution predicts the detail from millions of training photos. The result can look remarkably real, but the added detail is a prediction, not a recovery.
Is 4x always better than 2x?
No. A 4x upscale multiplies the pixel count sixteen times and gives the AI far more room to invent: exaggerated compression blocks, halos, garbled text. Start at 2x, inspect at 100% zoom, and only go higher if the end use demands it.
What is the easiest free way to make a high resolution image from a low resolution one?
Use a browser-based AI upscaler: upload, process, download. No install, and a single photo takes under a minute. For several images at once, check whether your tool supports batch uploads, or use Photoshop’s filmstrip Enhance for small batches.
Will the upscaled photo look as good as a native high-resolution photo?
At the intended viewing size, often yes. A well-upscaled 2x image printed at the right DPI is hard to distinguish from a native capture. Zoom to 200% or scrutinize fine text and the illusion breaks down, because the predicted detail was never real. Match the upscale to the final use.
Scale Up With Your Eyes Open
The tools have never been better, and the marketing has never been louder. That is how to upscale an image without losing quality in practice: start from the cleanest original, pick the smallest scale factor that serves the final print or screen, check the result at full size, and remember that predicted detail is not captured detail.

- AI Watermark Remover: How to Clean Up Your Own Images Without Crossing the Line - November 4, 2026
- 15 Best AI Tools for Research, Matched to Every Step of the Job - November 3, 2026
- Best Free AI Headshot Generator: 5 Tools That Are Actually Free (2026) - November 3, 2026




Pingback: Daily Tech News Updates: The Latest Software Changes Reshaping Today’s Digital Landscape