How to Make a Blurry Picture Clear: A Beginner’s Honest Guide (2026)
You have a photo you love and one problem: everything in it is soft. If you want to know how to make a blurry picture clear, start with the honest truth. Mild and moderate blur can often be improved a lot, but no tool can rebuild detail the camera never captured. This guide explains what “clear” realistically means, how to recognize the three kinds of blur, and a simple workflow you can follow on any device.
How to Make a Blurry Picture Clear: Set Honest Expectations First
When people look up how to make a blurry picture clear, they usually want the photo to look noticeably sharper or to look like it was taken in focus. The first goal is often achievable. The second is rarely possible, and knowing the difference saves hours of frustration.
A realistic improvement looks like this:
- Slightly crisper edges and stronger contrast on a mildly soft photo
- Less grain in a low-light shot, so the subject reads better
- Cleaner detail when a small image is enlarged for sharing
And here is what no app can honestly deliver:
- Recovering a face from a completely out-of-focus shot
- Erasing heavy motion streaks so a moving subject looks frozen
- Reading text that was never legible in the original
Next, identify your kind of blur, because each one responds to a different fix.
The 3 Kinds of Blur (and Why Each Needs a Different Fix)
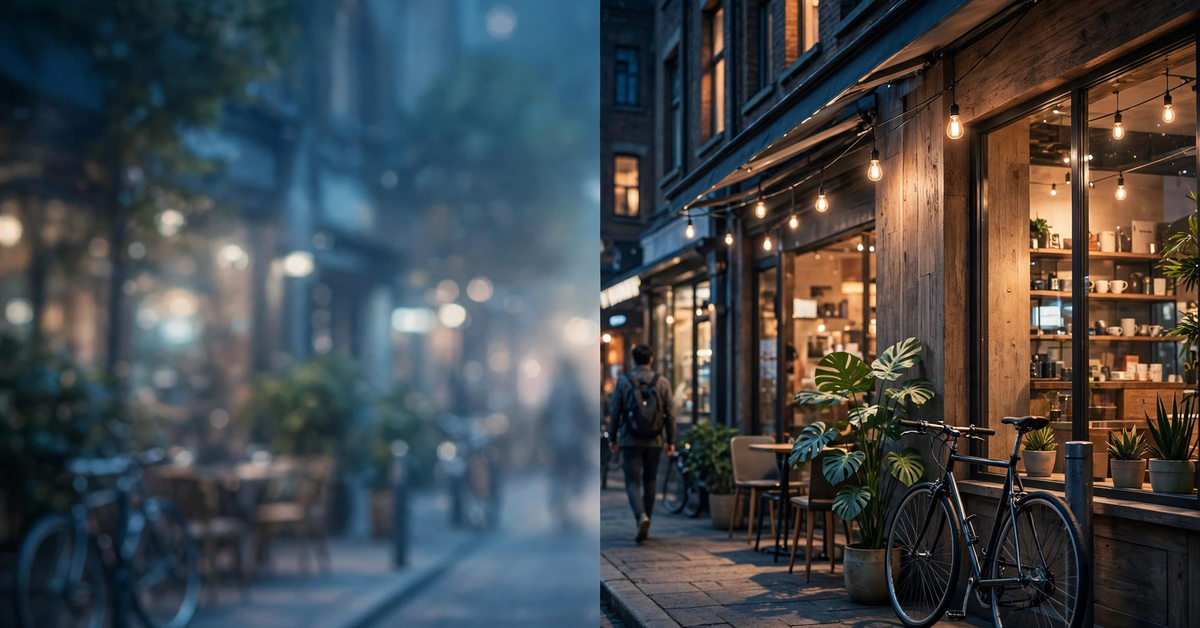
Nearly every blurry photo falls into one of three categories. Decide which one you have first, and you will pick the right tool on the first try.
1. Out-of-Focus Blur
This is the classic miss. You aimed at your friend, but the camera locked onto the wall behind them, or the autofocus never settled. Everything looks uniformly soft with no streaks. Gentle sharpening or an AI enhancer can help fix unfocused pictures when the blur is mild, but a deeply missed focus is the hardest blur to rescue. This simple routine is also a good starting point for how to fix unfocused pictures taken indoors or at close range.
2. Motion Blur
This one has a direction. Either the camera moved during the shot (shaky hands, a slow shutter in dim light) or the subject moved (a running child, a passing car). Look for streaks, smeared edges, or a faint double image along the direction of movement. Targeted sharpening can reduce mild motion blur, but long streaks usually stay visible.
3. Low-Light Grain
Technically this is noise, not blur, but it reads as blur to most people. Photos taken at night come out speckled, and fine detail gets swallowed by the grain. Here, reduce noise first and sharpen second. Sharpening before cleanup just makes the grain crisper, which is the opposite of what you want.
| Kind of blur | What it looks like | What usually helps most |
|---|---|---|
| Out-of-focus | Everything uniformly soft, no streaks | Gentle sharpening or an AI enhancer for mild cases |
| Motion blur | Streaks or double edges along one direction | Targeted sharpening with motion-specific settings |
| Low-light grain | Speckled, gritty texture hiding the detail | Noise reduction first, light sharpening after |
A Simple Workflow to Fix a Blurry Picture on Any Device
The workflow below takes about five minutes. It starts with the easiest free options and only moves to heavier tools if the easy ones fall short. Learning how to make a blurry picture clear is mostly about following these steps in order rather than mastering complicated software.
Before you begin, work on a copy of the photo so you can always return to the original.

Route 1: On Your Phone (Free and Fastest)
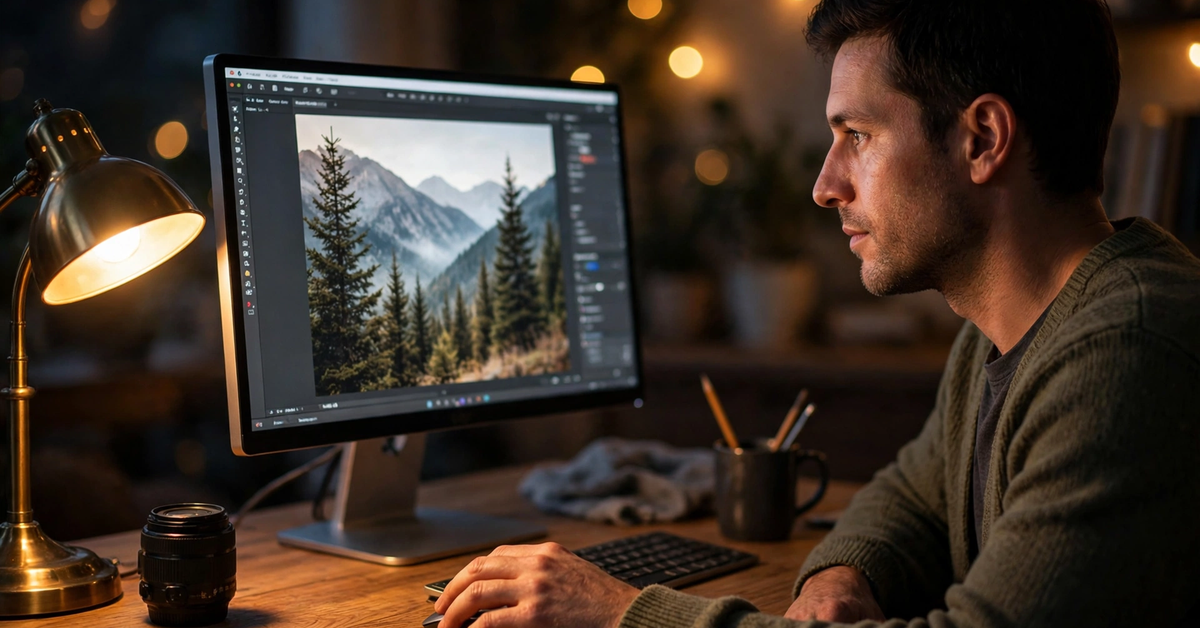
For most people, the phone route is enough. In Snapseed, Google’s free editor, open your photo and tap Tools, then Details. Raise the Sharpening slider until edges look crisper, then add a touch of Structure for texture clarity. Stop as soon as the image starts to look harsh.
Your built-in editor works too. On an iPhone, open Photos, tap Edit, and find the Sharpness and Definition sliders, plus Noise Reduction for grainy shots. Nudge Sharpness up for mild softness and use Noise Reduction sparingly on low-light photos. This is the simplest answer to how to fix blurry pictures on iPhone, and most people who search for how to make a blurry picture clear on iPhone never need anything beyond it.
Route 2: On a Computer (Free Browser Editors)
For a bigger screen, free browser editors work without installing anything. Pixlr offers one-tap auto-enhance that sharpens a photo in seconds, while Photopea adds layers and sharpening filters with a steeper learning curve.
The routine is the same: reduce noise first if the photo is grainy, sharpen second, and compare against the original often. Zoom to 100% before judging sharpness, because a photo that looks fine as a thumbnail can fall apart full screen. Our roundup of free AI image editors compares more options with their limits.
Route 3: In Photoshop (For the Patient)
Photoshop is a paid, subscription-based editor, so this route suits those who already have it. It sharpens more precisely than free tools but cannot do the impossible. As Adobe itself says: “A blurred image in-camera will always be blurry. No amount of sharpening will change that.” These filters only create the illusion of sharpness by boosting edge contrast.
That is how to fix blurry photos in Photoshop the careful way. For general softness, go to Filter, then Sharpen, then Unsharp Mask, working on a duplicate layer. Adjust Amount (sharpening intensity), Radius (pixels affected around each edge), and Threshold (the pixel difference needed before sharpening applies). Preview at 100% zoom and start small, since overdoing it creates visible halos.
For more control, Smart Sharpen (Filter, Sharpen, Smart Sharpen) adds a Reduce Noise slider and a Remove setting with Gaussian Blur, Lens Blur, or Motion Blur options. To remove blur in foreground of image areas while keeping a soft background, apply sharpening through a layer mask so the effect lands only on the subject. See Adobe’s official Unsharp Mask tutorial and the official documentation for every setting.
Realistic Expectations: What AI Can and Cannot Recover
AI enhancers work differently from old filters. Instead of boosting edge contrast, they guess missing detail from patterns learned from millions of images, which makes them better at mild blur, grain, and enlarging small images.
Even so, the limits matter more than the marketing suggests. An AI enhancer can:
- Clean up mildly soft or slightly out-of-focus photos convincingly
- Reduce noise in low-light shots while keeping faces natural
- Enlarge a small image with fewer blocky artifacts than simple upscaling
But it cannot:
- Recover the true details of a heavily blurred face or unreadable text
- Remove long motion streaks without inventing textures that were never there
- Fix a photo where the subject itself was never captured
One warning: because these tools guess missing detail, they can invent textures or lettering that look plausible but are not real. Never rely on an enhanced photo as evidence or for documents where accuracy matters. For personal photos, though, a good enhancer is often the fastest route to a visibly cleaner image. In practice, combining light sharpening with gentle noise reduction is the quickest way to get a clear blurry image you are happy to share. Our AI photo editor guide breaks down the main options and their honest trade-offs.
Your Next Steps to Sharper Photos
Start simple: identify the blur, then try a free phone editor with two minutes of careful sharpening. Turn to Photoshop or AI enhancers only when the free route leaves you unsatisfied. And if the photo stays blurry after an honest attempt, retaking it is the only true fix. Now that you know how to make a blurry picture clear within realistic limits, you can rescue the good shots and stop wasting time on the ones no tool can save.
Clear Answers to Common Blur Questions
Can you completely fix an out-of-focus photo?
Only if the blur is mild. Slight softness responds well to sharpening or AI enhancement, but deep out-of-focus blur stays soft because the detail was never recorded.
How to fix blurry photos on iPhone without extra apps?
Open Photos, tap Edit, and use the Sharpness, Definition, and Noise Reduction sliders. Keep each adjustment small and check the result at full size before saving.
How to unblur an image in Photoshop?
Duplicate the layer, then go to Filter, Sharpen, and choose Unsharp Mask or Smart Sharpen. Preview at 100% zoom, keep values conservative to avoid halos, and use a layer mask to sharpen only the parts that need it.
Can AI really make a very blurry photo look real?
For mild blur, yes. For severe blur, results often look smooth but invented, since AI enhancers guess missing detail from learned patterns.
Why do my photos look blurry after uploading to social media?
Social apps compress images, throwing away detail. Start from the highest-resolution original and sharpen gently before uploading, so the app compresses an already clean file.

- AI Watermark Remover: How to Clean Up Your Own Images Without Crossing the Line - November 4, 2026
- 15 Best AI Tools for Research, Matched to Every Step of the Job - November 3, 2026
- Best Free AI Headshot Generator: 5 Tools That Are Actually Free (2026) - November 3, 2026